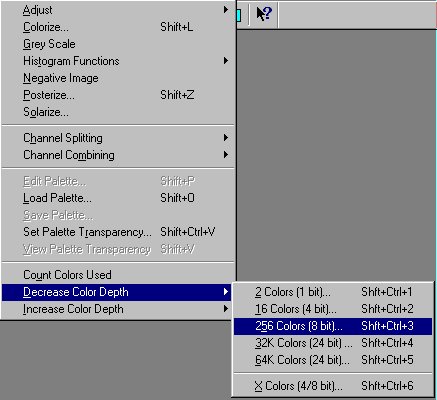
Go up to the Menu Bar select the Colors item. Go down to Decrease Colors Depth and select 256 Colors (8bit).
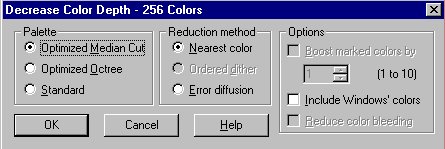
Now you will get a message screen say yes, and click the OK button on the screen entitled Decrease Color Depth Do Not Change Any of the Settings.
Again go back to the Menu Bar and again click on Colors. Go down to Set Palette Transparency and click on it. You will get a screen like the one you see below.
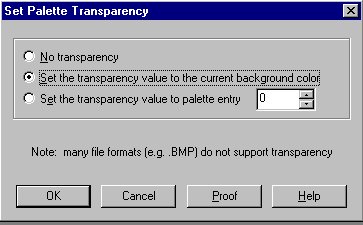
Change the settings from "No Transparency" to "Set the transparency value to the current background color. It should look lie the one above.
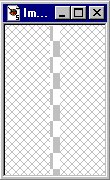
This is what your final image should look like. Now save it as a GIF file format in your directory and it can be used in numerous situations. It can be used horizontal spacer by simply changing the height and width properties.